

Going hunting? Need to touch up your gear? Look no further – creating your own camo pattern is easy! With the following tips, you can get that perfect, natural camo look in 15 minutes or less. Follow this easy, step-by-step guide to get the look.
What You Need
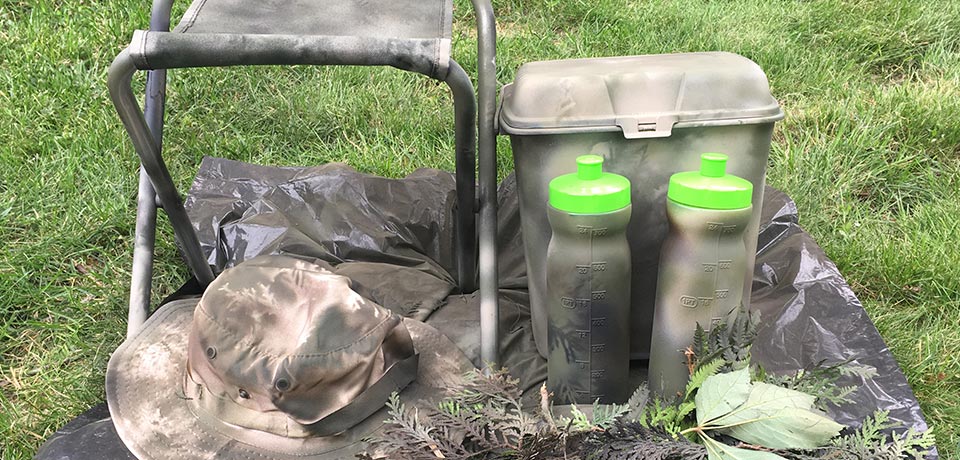
- Gear to spray paint
- Camo spray paint in black, brown, olive and khaki
- Drop cloth to protect from overspray
- Gloves (optional)
- Stencil (optional)
- Branches and leaves (ideally from the area you will be hunting in)
STEP 1: Prep your work area
Set up a spray area by covering your work space with a drop cloth. Make sure it is a well-ventilated area – outside is ideal. Using an all-purpose cleaner, thoroughly clean the inside and outside of your surfaces to remove dirt, oil and debris.

STEP 2: Paint your base
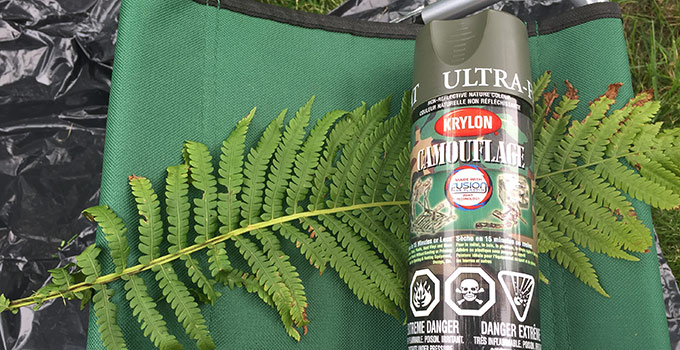
Depending on the surface, you may want to do a base colour on your project before layering with the camo pattern. It is always best to start with a base coat when you are working with a brightly coloured object.. One recommended product to accomplish this is Krylon Camouflage Spray Paint. For the base, layer the camo spray paint in black and brown using short, fast bursts. Keep layering colour until most or all of the original colour is gone.
Spray Tip: Make sure you read and follow the instructions on the can for proper spray distances, dry times and recoat timeframes. Products like Krylon Camouflage paint should be shaken for at least one minute after the ball has been released inside the can to ensure proper colour distribution. It is always recommended to test-spray on a scrap piece of paper or on your drop cloth before spraying your project. While painting, hold the can six to eight inches away from the surface and make sure to spray in smooth, even strokes to prevent drips or large areas of concentrated colour.

STEP 3: Create your camo
Layer leaves and branches over your project. Using the lighter colours (olive and khaki), spray in long, sweeping motions across the organic material. Remove the leaves and branches to reveal the pattern below. Repeat this process all around until you are satisfied with the pattern.
Spray Tip: Layer, Layer, LAYER! The more you layer the pattern, the more realistic it will look.

STEP 4
Let it dry. Spray paint typically dries in 15 minutes or less and can be handled in about one hour.
Quick Tips
- Choose the right pattern – pick branches and leaves from the area you will be hunting in to create a custom camo look to that area.
- Choose the right colours – layer colours so the hues that are most prominent in the area you will be hunting in are most featured. Always use an ultra-flat finish to ensure there is no light reflection.
- Pick a stencil – if you’re looking for a more traditional camo stencil, follow the instructions above, but instead of using natural stencils with leaves and branches, download them online. Krylon’s camo stencils can be found at krylon.com
- Light coats – for best results, use light, even coats instead of thick, heavy coats of paints. This will prevent drips and will also speed up dry time.