

Replacing your old opener is a simple do-it-yourself project. Not only can you stop worrying about the creaking and wobbling of an old opener, new smart garage door openers can provide peace of mind by accessing the system remotely – for those times you’re not sure you closed the door.
Selecting a door opener
When selecting your door opener, consider how much it will be used to determine the best horsepower for you. A common misconception is that you need more horsepower for a larger door, but in reality, higher horsepower better accommodates frequent use.
Consider a ¾-horsepower or above opener when the garage door is opened frequently for vehicles or people using the garage door as the main form of entry to the home. Then look at any additional specifications: wall or ceiling mount, belt or chain drive, battery back-up, accessories (such as door remotes and keypads) and its warranty.
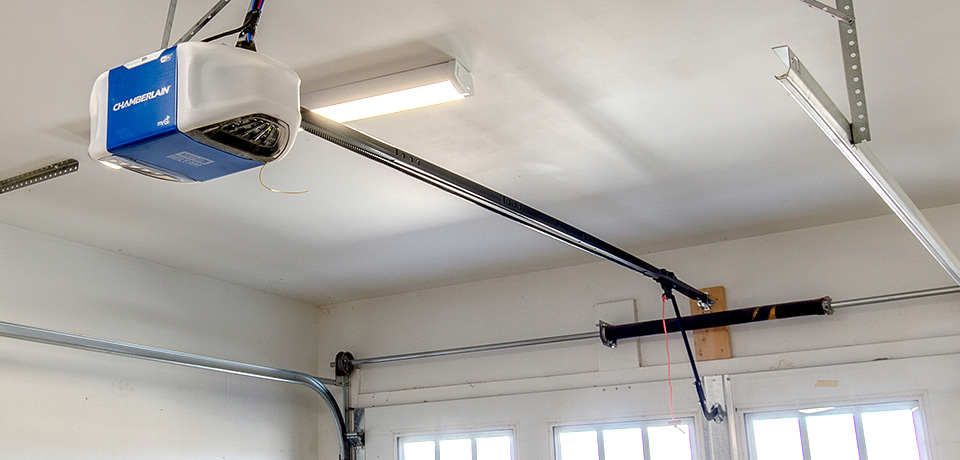
We used Chamberlain’s ½-horsepower, belt-drive opener with built in Wi-Fi. This feature provides access to your home’s network, which allows you to open and close the garage door, turn on and off home lighting and set schedules and alerts through the MyQ smartphone app.
Helpful hints for installation
Before you start, we recommend recruiting a helper to lend a hand with balancing and lifting.
Start by assembling the rail, trolley and pulley and mounting these to the garage door opener. Then, for belt-drive openers, install and tighten the belt.

Next, unplug the old opener or switch off breakers and take photos of how the unit and sensors are wired, as you may need to refer to these images for the new opener. Remove the old opener from the ceiling, garage door and header.
You may be able to reuse your existing ceiling hangers as well as the header and door brackets. Measure to confirm the header bracket location. Our rail was shorter in the new unit, so we needed to move the ceiling hangers closer to the door, while still ensuring they lined up with the ceiling trusses.

Pin the assembled rail to the header bracket while someone holds the opener as close to the ceiling as possible. Affix it to the ceiling hangers, ensuring it's level and square with the rail, and install your door arm on the trolley.

Your final steps will be to mount and wire the wall control and safety sensors. Once the power is back on, program the door and refine how you want it to operate. Test your safety sensor to make sure the door travels back up if interrupted to avoid risk of injury or vehicle damage.

Installing a new garage door opener can provide significant enhancements such as better connectivity, superior range and noise reduction. Close the door on poor performance and install a new opener today.