

If you’ve ever fancied a pattern other than basic staggered planks for your floors, loose lay luxury vinyl plank (LVP) is a great choice. Because LVP isn't tongue and groove, the planks simply butt up to each other. This type of product opens up creative pattern possibilities without needing to be an experienced installer.
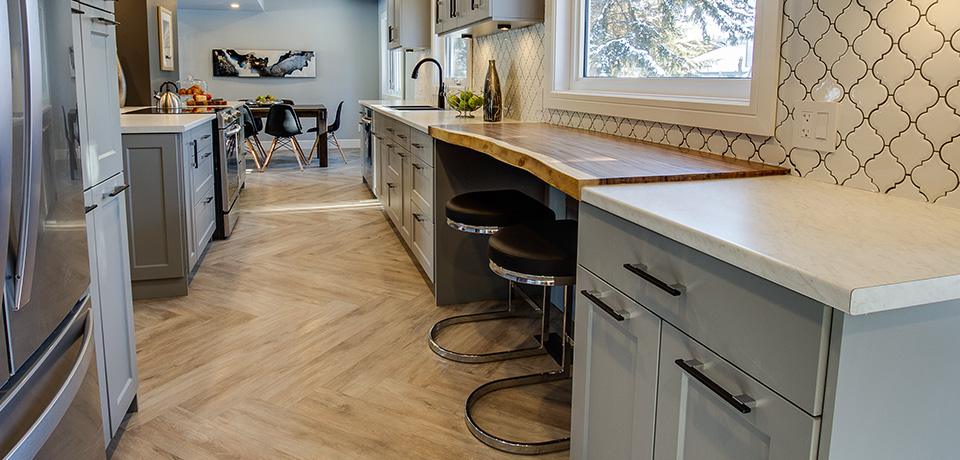
 Herringbone Complexity: 7/10
A popular flooring pattern is herringbone, which weaves uncut planks together to create a dynamic look of peaks and valleys. This is an ideal pattern if you don’t want to have to cut every plank.
To start this pattern, find the room’s centre line and install a row of peaks from this point. Branch your valleys off from this row, working across the room. It's essential that your pattern remains square to the room to ensure the finished look is straight and even.
Parquet Complexity: 6/10
Parquet flooring is a series of squares, each created using three planks, repeated with a quarter turn for each adjacent square.
To achieve this pattern, planks need to be cut to a length equal to the sum of three widths. For example, if your planks are seven inches wide, three widths total a length of 21 inches. These cuts must be perfectly square, so a mitre saw is recommended.
With this pattern, you can start laying from a corner or from the centre of the room.
Diagonal brick Complexity: 5/10
Diagonal brick provides a unique look without the complexity of many other patterns.
First, establish the angle in which the planks will run. A practical angle would be 45 degrees. Draw a starting line at that angle in the centre of the room where the longest run of planks will be. Lay your first row above this line, butting up your joints.
Run the second row below your line, butting up the long edge. Stagger the planks at the mid-points of the planks in the previous row. Continue to fill in the room above and then below your starting rows.
Square inlay Complexity: 7/10
Square inlay is a pattern of boxes within boxes which get smaller as you move to the centre of the room. You can apply this pattern to the entire rectangular portion of the room, starting from the perimeter walls.
To start your pattern, create centrelines in both directions. Build the perimeter, starting at the centrelines, working towards the corners, cutting the planks shorter to fit the space. Make your outer rows mirror images of each other.
Start the second ring of boxes by offsetting your joints by half a plank. Keep working from the perimeter towards the centre of the room. This pattern is best for a space where you will be able to see the centre of the room when completed.

Chevron Complexity: 9/10
The chevron pattern has clean lines that repeat on an angle, creating a zigzag design.
This pattern requires that each plank of LVP be cut on both ends at a 45-degree angle. Because these two cuts must be exactly 45 degrees at precisely the same length, there is no room for mistakes. A mitre saw is recommended for such cuts.
Once all the cuts are made, identify the centreline of the space. Lay two tiles on opposite sides of the line to create the first chevron. Repeat the next row in the opposite direction. Take your time to ensure the edges and seams are tight.
LVP is durable, waterproof and easy to work with, and it can make your room pop with these five fun and exciting flooring patterns.