

Whether it’s for decorative or practical purposes – or both – a simple, wooden crate transformed using chalked paint and a cute logo is a great DIY project that creates extra storage at home.
If you have some basic carpentry skills, you can build your own crate with some small pieces of scrap wood; alternatively, pick one up from a yard sale or purchase an unfinished one. Select two colours of chalked paint. I’m using Rust-Oleum’s Serenity Blue and Linen White, but you can choose any combination of colours based on personal preference.
Start by giving the crate a coat of your first paint – Serenity Blue in my case. You don’t have to prime the crate with this particular product, even on raw wood. It went on really smooth and only needed one coat.
Create vintage look
To create a vintage or aged feel, you’ll want it to look like the second colour has been worn away with years of use. So after the first coat dries, dry brush the second colour (white).
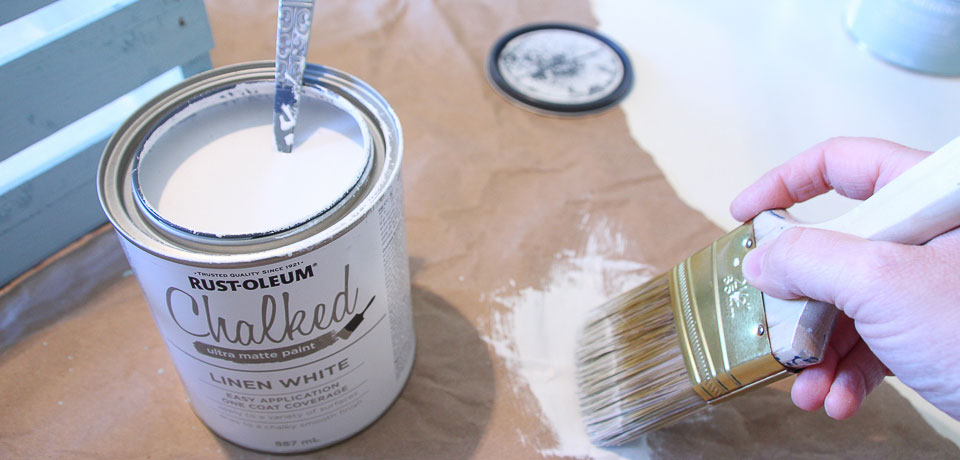
To dry brush a piece, just dip the brush in the paint and then remove as much of the paint as possible on the edge of the can – leaving the brush quite dry. You can also wipe off any excess on a piece of paper or other material. Then brush very gently across the surface of your piece, incorporating a worn-looking layer of white.
I often do dry brushing with pieces that I want to give an aged feel, and I find it easier than painting them solidly and then sanding it all off. You can also use sandpaper to distress your piece further after it has dried, revealing some of the wood underneath as well.

Add graphics
To add a bit more flair, you can create a uniquely painted label. The great thing about this project is that you can add any kind of custom wording, numbers or labels that suit your home and your style. To make the design, use Microsoft Word or an online program like PicMonkey.
Simply print the graphic off the computer (step 1). Then, in order to transfer the design to the crate, use a pencil to colour in the back of the graphic (step 2). Once the whole back is coloured in, turn it over onto the crate and use the pencil to trace around the edges of the lettering and design (step 3). This method acts like DIY-transfer paper, allowing you to transfer the design onto your project so you can see where to paint it.
Last, just fill in the graphic with a small artist brush, in this case using the same blue paint as the base colour (step 4). This project doesn’t use very much of either paint colour, so there should be plenty left over for future projects.

I love the soft pretty feel of the watery blue and white combo. What do you think?
As a bonus option, add four small castors to the corner of the crate to turn it into a rolling storage solution (step 5). A group of these crates painted up would be perfect for storage on a shelf, and one of these looks stunning beside a sofa or chair to hold extra pillows, blankets or magazines (step 6).
Over time, adding custom and unique pieces like this to your home will help to create a space that is uniquely you. As I say on my blog: “Home isn’t built in a day, enjoy the journey.”
Krista Aasen is a DIY décor, craft and lifestyle blogger at The Happy Housie. She loves sharing budget-friendly DIY projects that inspire readers to add their own unique flair to their homes.