

In Canada, we have to think of every possible weather situation for our gardens. Rain, sun, wind, and fluctuating temperatures can be a normal day, almost any day, here. But, with a little know-how, you can grow your garden like a true Canadian. One pro tip from our experts at Co-op is to build raised garden beds or planters.
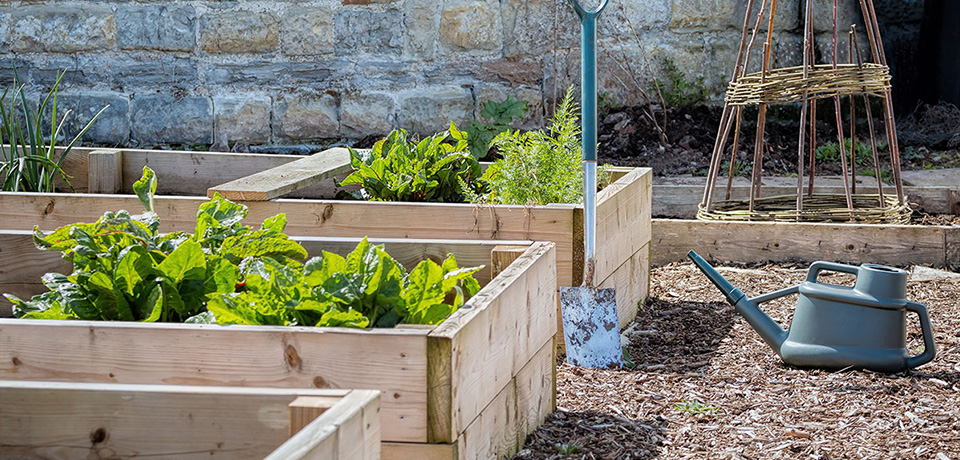
Garden beds can give you better harvests due to controlling the soil quality and content, better drainage, and deeper rooting. Raised beds also mean you don’t have to bend over as far when you weed! Plus, you’ll notice your garden actually has fewer weeds due to the elevation.
Raised beds are especially helpful in the Prairies for the spring months when the weather is just starting to thaw — in-ground gardens take longer to warm up.
Location

Be cognizant of what you’ll be planting in your raised beds. Some vegetables and flowers like a lot of sunlight while others don’t. Plan for irrigation or you’ll be stuck watering your bed with a watering can. If you’re building your garden bed into the corner of your yard, you’ll want to consider an L-shaped bed. Or, if you live in an urban environment without a lot of room in your yard, you may want to consider a subdivided box or two smaller, trellis-connected boxes.
As with any home projects, planning thoroughly will save you time and money in the long run. Create construction drawings and a dimension plan. Next, plan out your cuts. Then, you can start building! If you need more advice, head down to your local Co-op Home Centre and consult with our experts.
Tools and Materials
You’ll need:
- Lumber, this will vary depending on the desired size and shape of your box, but two eight-foot two-by-12 planks and two four-foot two-by-12 planks will work. Typically, naturally rot-resistant wood like cedar works best. Pressure-treated wood is another good option. Use local, sustainable lumber whenever you can. Include extra lumber for supporting posts if you would like your box to be higher.
- A large-diameter circular saw and a drill with a ½-inch spade bit. A handsaw will also work at the risk of accurate cuts.
- Deck wood screws
- Wide-mesh hardware cloth
- Soil
- Seeds
How To
Cut your ends into 45-degree angles for a mitered corner. If you’re planning for a simple, rectangular box, cut your ends, drill a pilot hole in each end, and use your deck screws to fasten it together. After this, staple the wide-mesh hardware cloth to the bottom of the frame.
Add soil and seeds and you’re done!
If you want your box to be higher, clamp together your frame boards and screw your supporting posts overtop.
Creativity
Get creative when making your construction drawings, your garden beds don’t have to be rectangles. Those with smaller yards can maximize space by building two, smaller garden boxes and connecting them with a trellis arch to grow vertically.
Top it all off with a custom-built compost bin.