

After posts are set, the next stage in building your fence is attaching the rails, which may also be called stringers. Fence rails are generally two-by-fours that are installed between or across posts and are often what the fence boards are affixed to.
Review fence design
All fences will have a top and bottom rail. One general rule of thumb is to have a horizontal rail for every 24 inches in height. For a six-foot-high fence, this means three rails.
While a middle rail may not be a structural necessity, it will help keep fence boards in place and may limit warping and twisting. The combination of a top rail and cap rail will also prevent sagging and
If your design calls for the fence boards to be installed horizontally, a middle rail won’t be necessary.
Mark rail placement
Starting at an end post, mark the placement for rails. The bottom rail should be located at least six inches above the ground. This helps keep the boards away from ground moisture, preventing decay, and makes it easier to trim grass if present.
Because it’s unlikely that the ground will be perfectly flat, use a mason’s line and
For sloped landscapes, you can either run the rails parallel to the slope of the hill or keep the rails level, but lower their placement between each set of posts in a stepped style.
- Quick tip: Instead of measuring and marking all rails on every post, you may want to use guide blocks, also known as cleats. Once the bottom rail is installed level, use blocks of the desired length to set the next rail for installation.

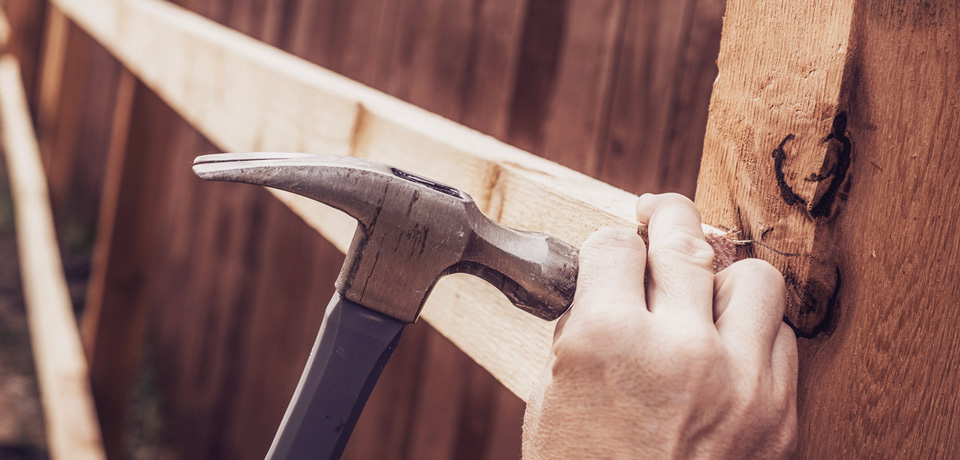
Install fence rails
The most common – and easiest – methods are to either nail or screw the rails directly to the post using rust-free fasteners or to use galvanized fence brackets. A fence bracket is an open U-shape that holds the two-by-four rail between the posts.
Two-by-fours can be installed wide-side up (to prevent side-to-side pressure) or narrow-side up (to limit sagging). Using a narrow-side up
Depending on
- Quick tip: If rails run across fence posts, place the joint at the centre of the fence post. Using longer pieces will allow you to alternate placement so not all joints are on one post – making the fence stronger.
Once the rails are up, you’re more than halfway through your project. Attaching fence boards to the rails is the next step of the process.
